Deploy React SSR to Production


This is the sequel to Intro to React Server Side Rendering, so check that out if you haven’t already.
Let’s deploy a basic React SSR app on Google Cloud Platform (GCP).
In this article, I’ll deploy a Web Application Server, upload webpack bundles to Cloud Storage, and serve those bundles via CDN. I’m using the italicized terms as defined in this excellent article, Web Architecture 101 by Jonathan Fulton.
Let’s accomplish this in two parts.
Part 1: Build and start the app locally.
Part 2: Deploy to the cloud.
Part 1: Build and start the app locally
Here’s the big picture:
- Transpile client-side and server-side bundles via webpack.
- Start a static server to serve the client-side bundles.
- Start the server-side bundle as the Web Application Server.
For reference, here’s the Github repo for the code used in this section.
React component
Let’s create a simple React component App, which renders our favorite greeting with some basic styles, as well as a button that displays an alert dialog when clicked. We will render this component on the server-side and hydrate it on the client-side.
webpack configs
Instead of using webpack-dev-server to build the client-side bundles in memory (like in Intro to React Server Side Rendering), we’ll be writing the bundle output into files, and starting a local static server to serve those files. Note the annotated lines below.
Annotations of the code comments above:
[A] Save client-side bundle output to ./build/client
[B] Write JavaScript code into ./scripts/bundle.js
[C] Write CSS code into ./styles/bundle.css
The other settings are not super relevant to what we’re trying to accomplish here, but more details can be found in Intro to React Server Side Rendering.
HTML response
While the HTML markup will be server-side rendered, we need to make sure the bundled JS and CSS files are downloaded on the client-side to “hydrate” the markup.
Annotations of the code comments above:
[A] This turns the React component App into an HTML string, which we then insert into the div with the ID “ssr-app”. I.e., the SSR-ed markup.
[B] This loads the CSS code to style the DOM elements in our SSR-ed markup.
[C] This loads the JS code to “hydrate” the markup with interactivity. In this example, it attaches the click handler to the button.
[D] This is the local static server that serves the client-side bundles.
Cool, cool, cool.
Build and start scripts
Let’s define several npm scripts to build and start our app locally. Think of these as the steps to get our app up and running.
build:client— This tells webpack to build the client-side code and save the bundle output in./build/client.build:server— This tells webpack to build the server-side code and save the bundle output to./build/server/bundle.js.prebuild— This uses rimraf to delete the./buildfolder.build— Runsbuild:clientandbuild:serverin parallel.start:client— This serves./build/clientas static files onhttp://localhost:5000, using the aptly named library serve. Note that this is thecdnHostwe insert into the HTML response above.start:server— This starts the Express server onhttp://localhost:3000.start:local— Runsstart:clientandstart:serverin parallel.
Putting it all together
In the terminal, let’s run the npm scripts in the following order:
npm run buildnpm run start:local
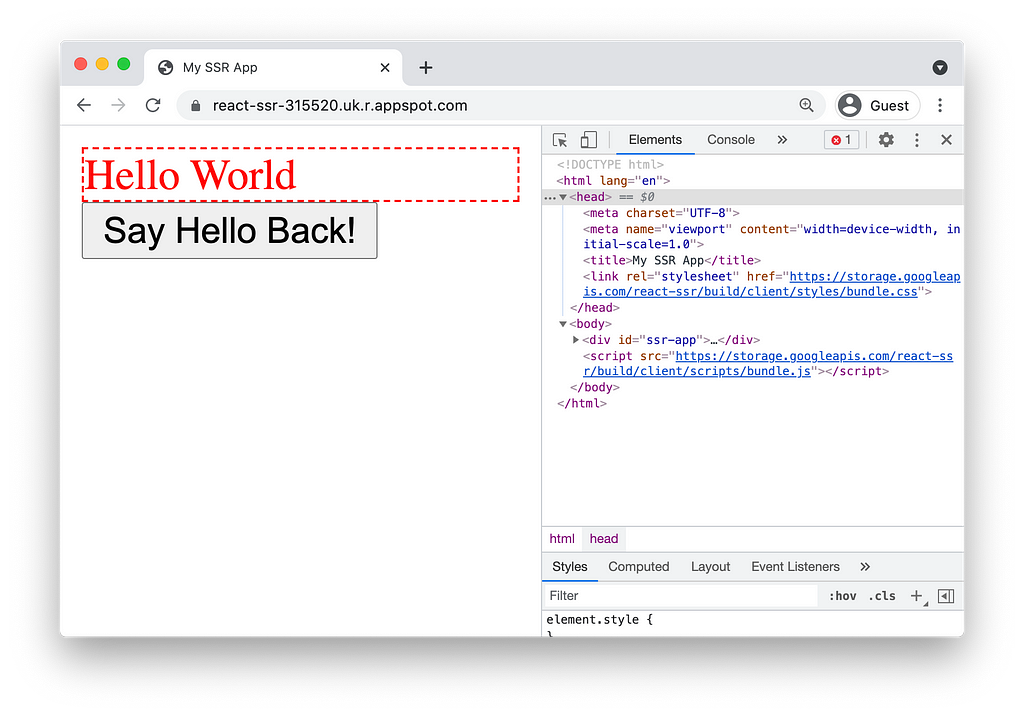
Our SSR app is now up and running on http://localhost:3000! 🎉
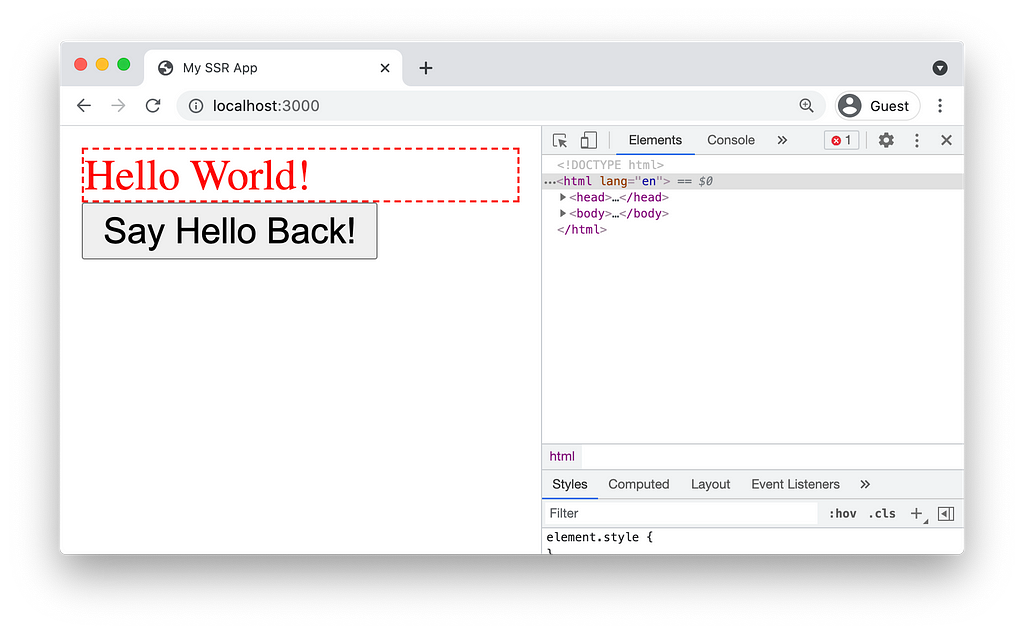
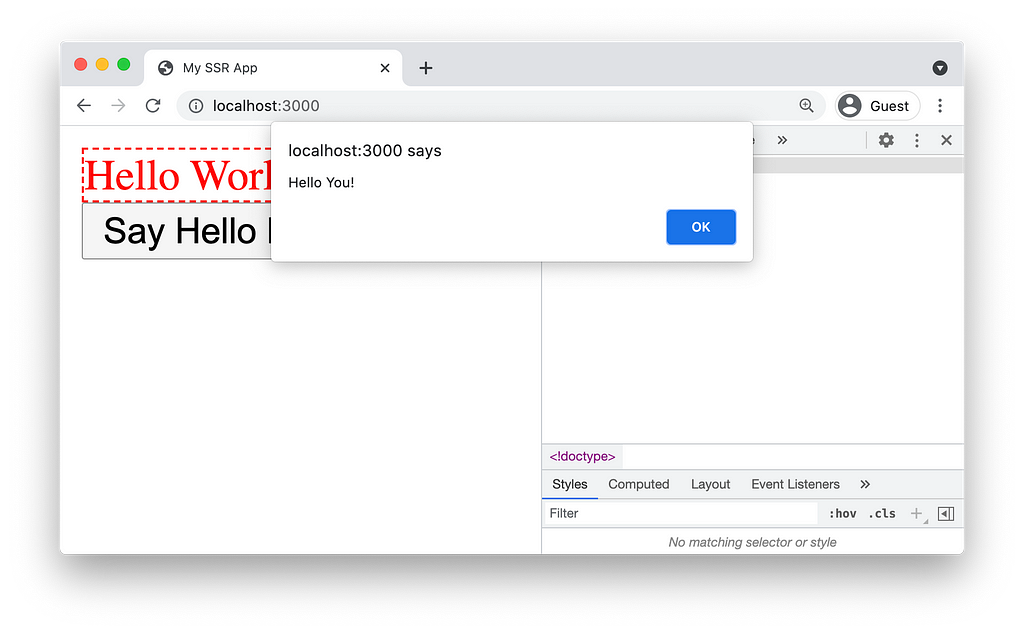
Clicking the button should trigger the alert dialog! 🙌
Part 2: Deploy to the cloud
We’ll now replicate what we just did locally, in the cloud!
Again, here’s the big picture:
- Use GCP Cloud Build to execute the following build steps.
- Transpile client-side and server-side bundles via webpack.
- Upload the client-side bundles to GCP Cloud Storage, which will be served as static files over CDN.
- Deploy the server-side bundle to GCP App Engine as the Web Application Server.
For reference, here’s the Github repo for the code used in this section.
For this section, I’m assuming that you have some level of familiarity with GCP, including the fact that you’ve already signed up for an account.
Please note there may be billing charges when you use GCP products/services!
Take a deep breath, and here we go!
Create a new GCP project
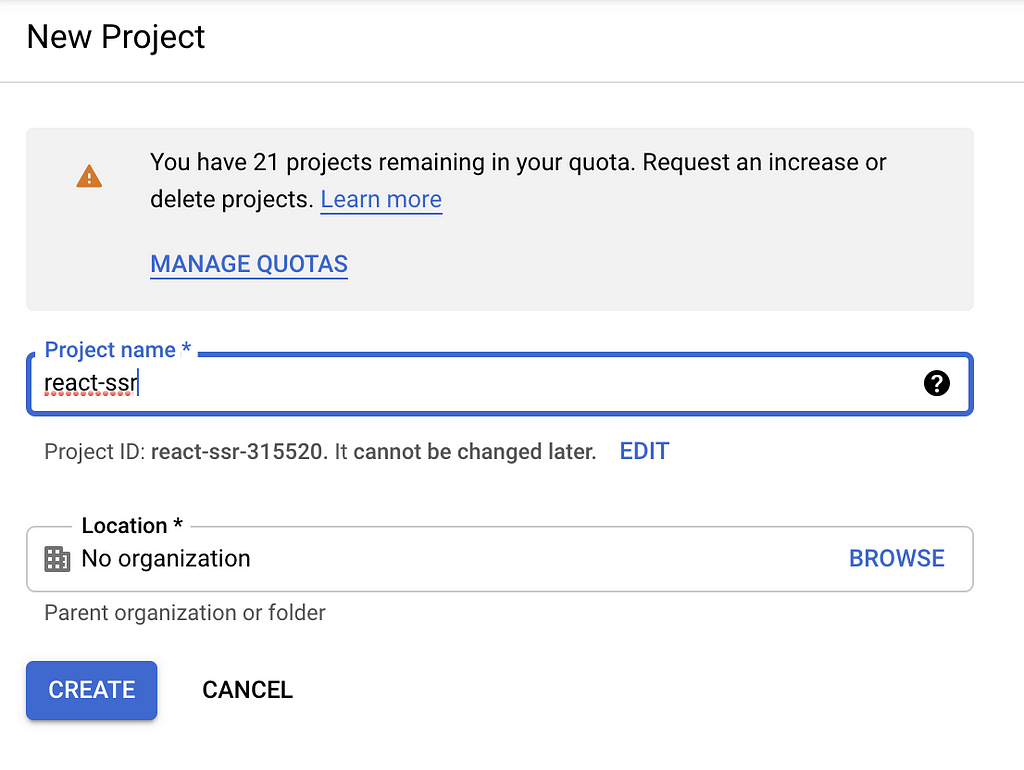
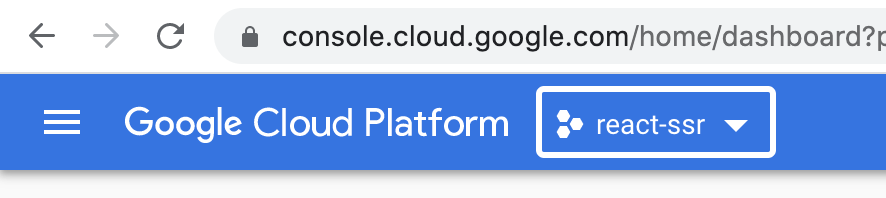
Go to IAM & Admin > Manage Resources and create a new project. Let’s name this project react-ssr.
Make sure the newly created project react-ssr is selected.
Cloud Storage
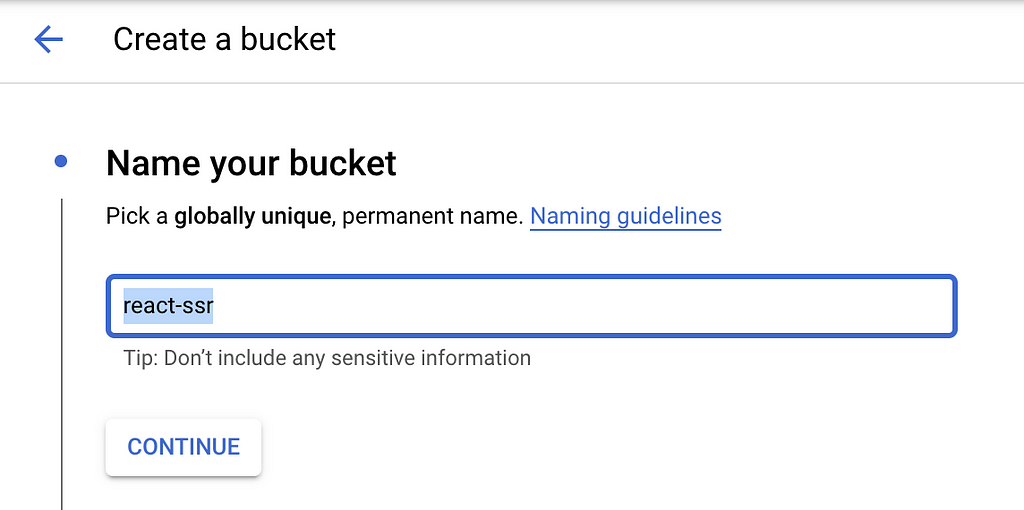
Create a storage bucket to upload the client-side bundles. These will be served as static files via an actual CDN powered by GCP.
Go to Cloud Storage > Browser and create a new bucket. Let’s name it react-ssr to be consistent. Use default settings for the rest of the options.
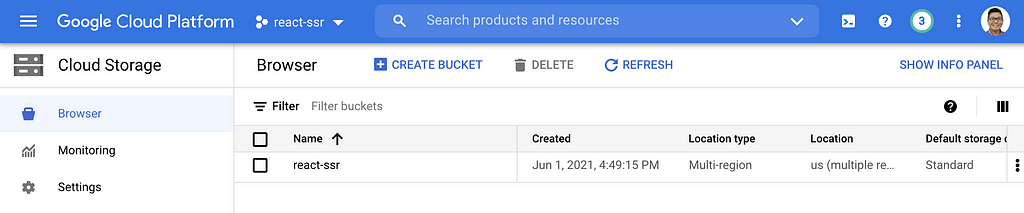
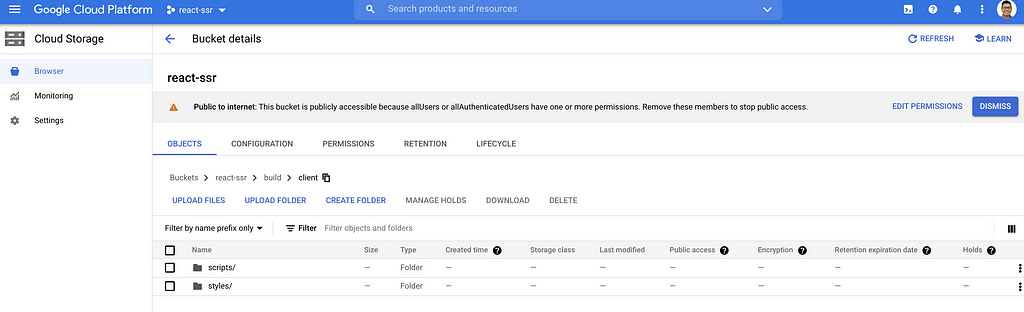
Once the bucket is created, you should see something like this.
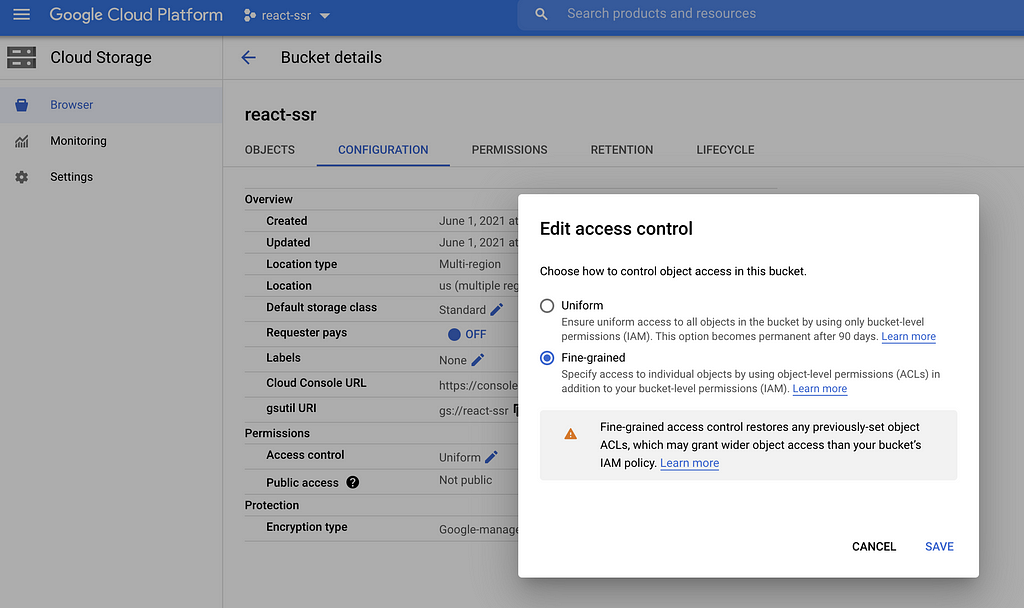
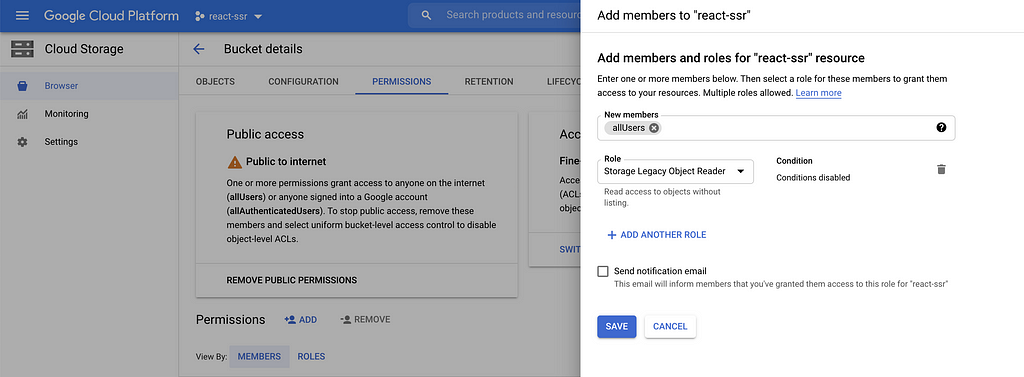
Drill into the react-ssr bucket, click on the Configuration tab, edit the Permissions > Access Control, and set it to Fine-grained.
Click on the Permissions tab, click on Permissions > ADD, and add the user allUsers with the role Storage Legacy Object Reader , to make the files in this storage bucket publicly readable.
App Engine
This service will manage containerization and scaling. For the purpose of this illustration, this simply means our app will be available over the interwebs via a URL.
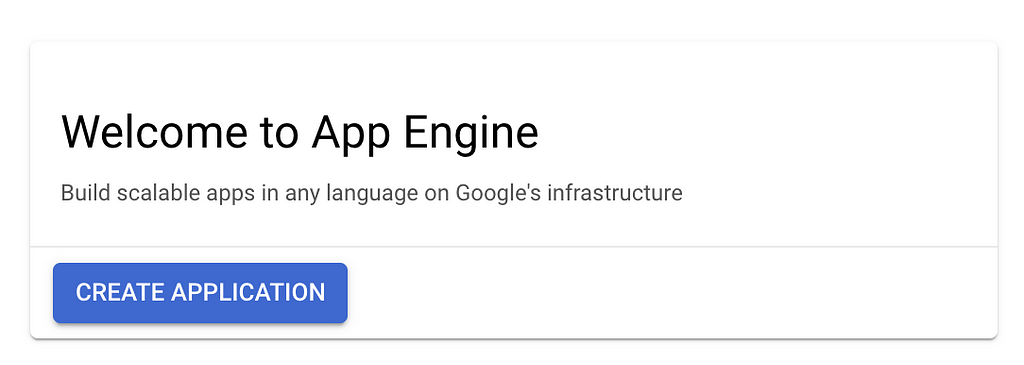
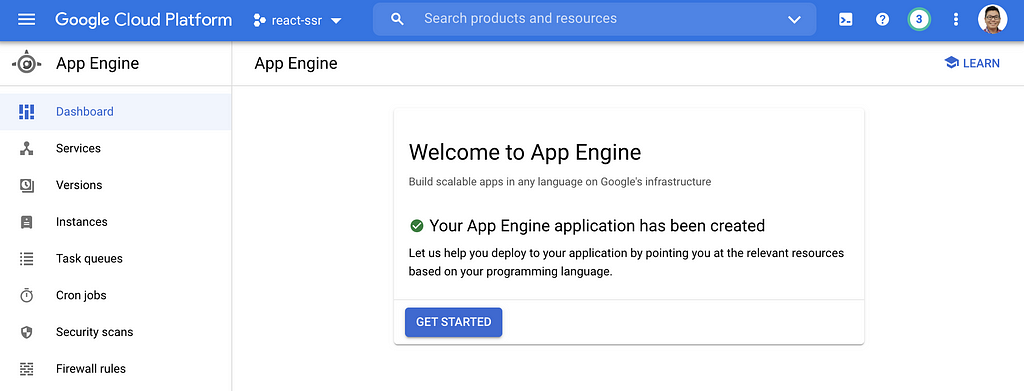
Go to App Engine > Dashboard and create a new application. Pick your region accordingly.
Once the application is created successfully, you should see something like this on your dashboard.
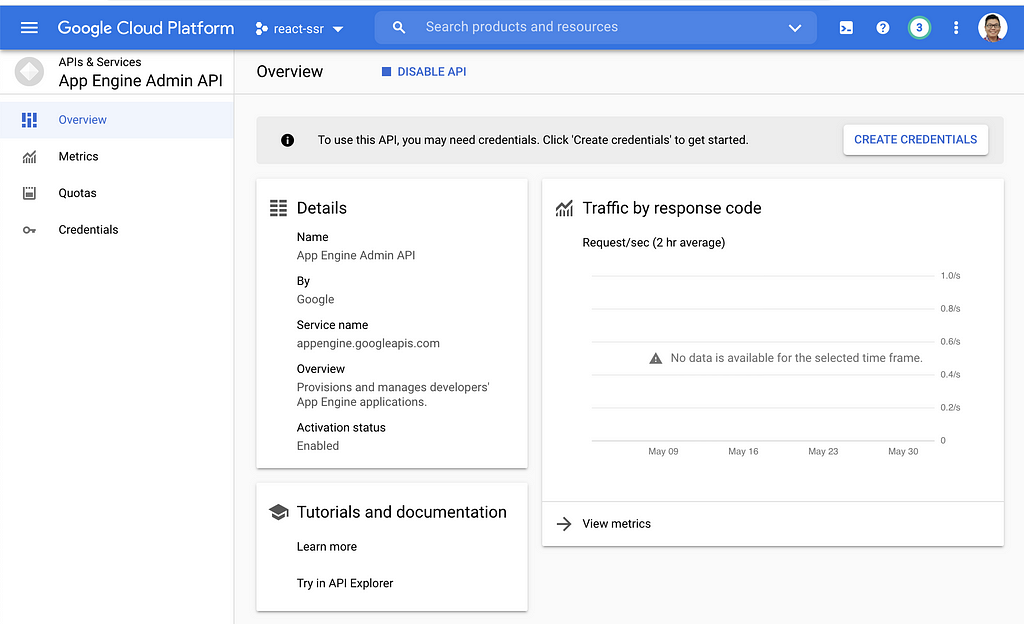
Next, enable the App Engine Admin API.
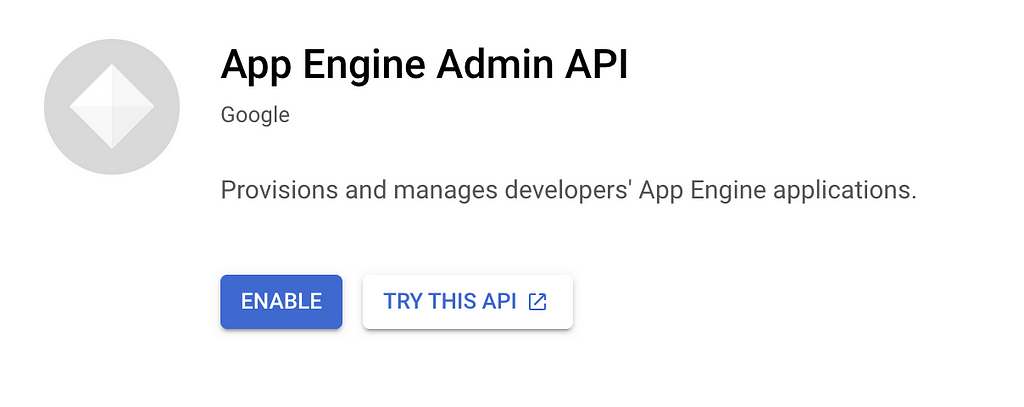
Once enabled, you should see something like this.
Next, we need to define the runtime settings, via the app.yaml file in our codebase, for our Node.js app to be hosted on App Engine.
Annotations of the code comments above:
[A] This tells App Engine the Node.js version you want to use for your app.
[B] This sets the runtime environment variable NODE_ENV with the value “production”, which we can access in our code via process.env.NODE_ENV.
Lastly, App Engine starts the app by running npm start, so let’s add that npm script to our package.json.
Cloud Build
We’ll be using Cloud Build to automate the app deployment every time we push commits to the source code repo.
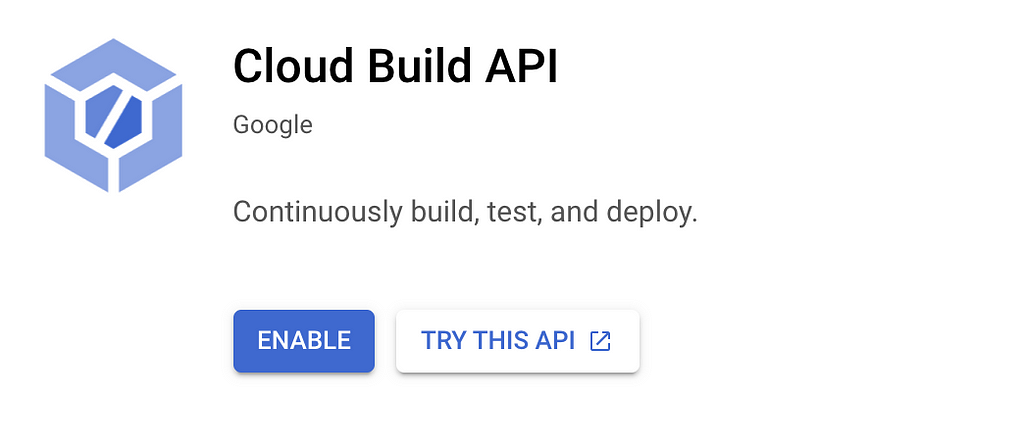
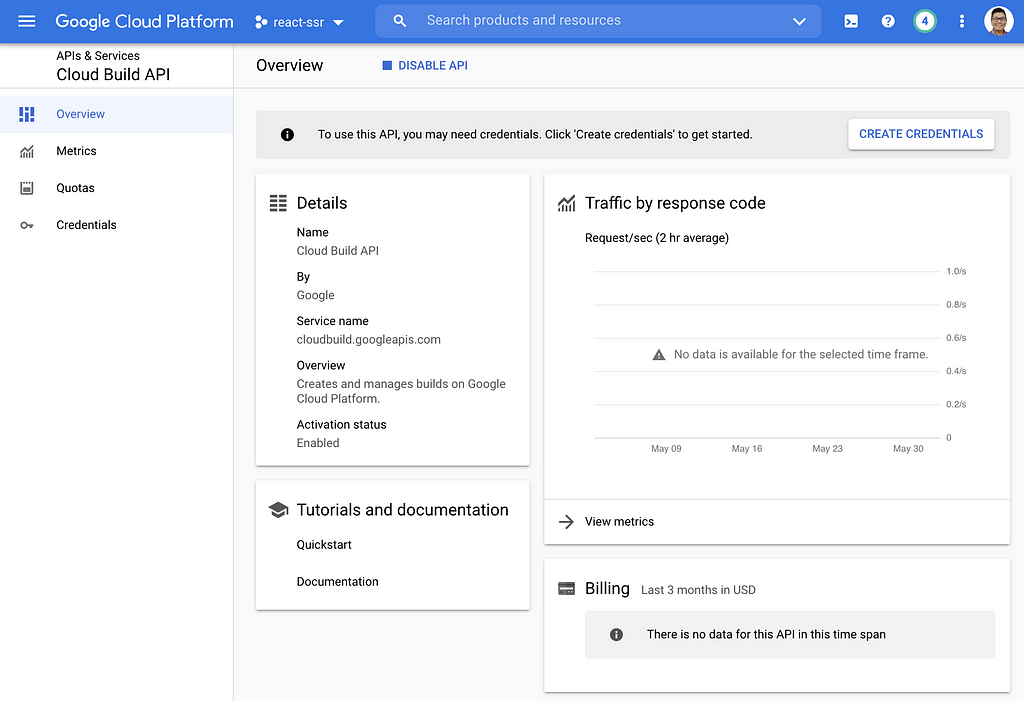
First, let’s enable the Cloud Build API.
Once enabled, you should see something like this.
Next, go to Cloud Build > Settings and set the status of the App Engine Admin role and the Service Account User role to Enabled.
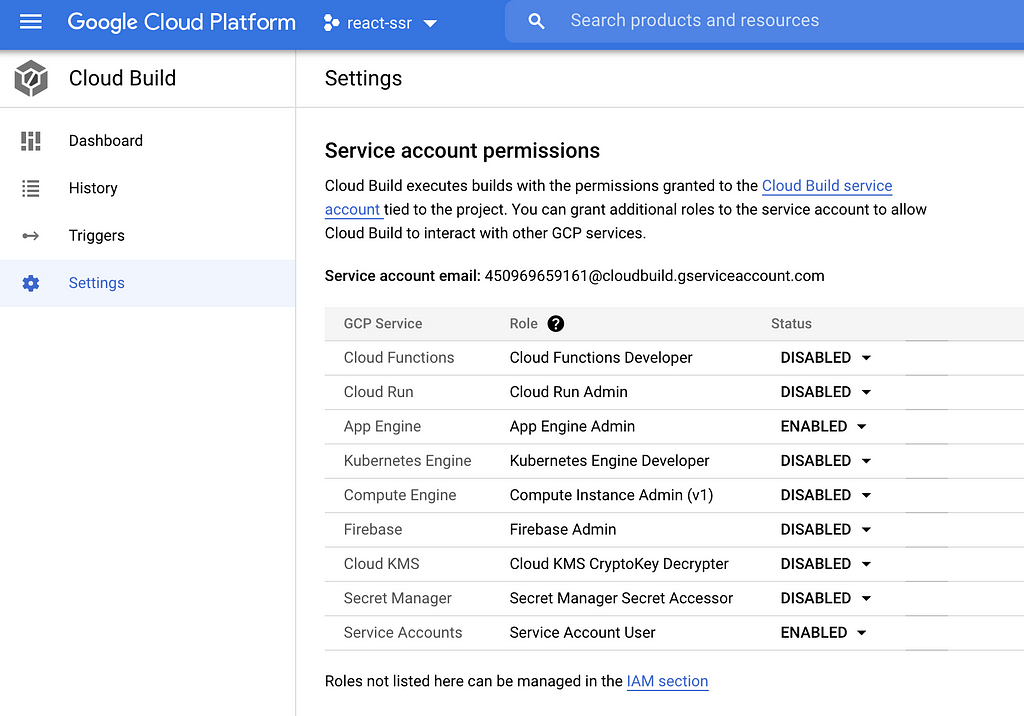
For the purpose of this illustration, just think of the Cloud Build service account as the bot that automagically executes our build steps, uploads files to Cloud Storage, and deploys to App Engine.
Lastly, we define the series of build steps to deploy our app to the cloud in the cloudbuild.yaml file in our codebase. Cloud Build will execute these steps in consecutive order.
Annotations of the code comments above:
[A] This runs npm install to install all our dependencies in the cloud, just like we would when we’re starting a new project locally.
[B] This runs npm run build to transpile our client-side and server-side bundles via webpack, and save the output to ./build, with build-time environment variable NODE_ENV set to “production”, which we can access in our code via process.env.NODE_ENV.
[C] This uploads the files in the ./build directory to the Cloud Storage bucket react-ssr/build which we created previously.
[D] This sets the Cloud Build timeout to 1600s and deploys the app to App Engine.
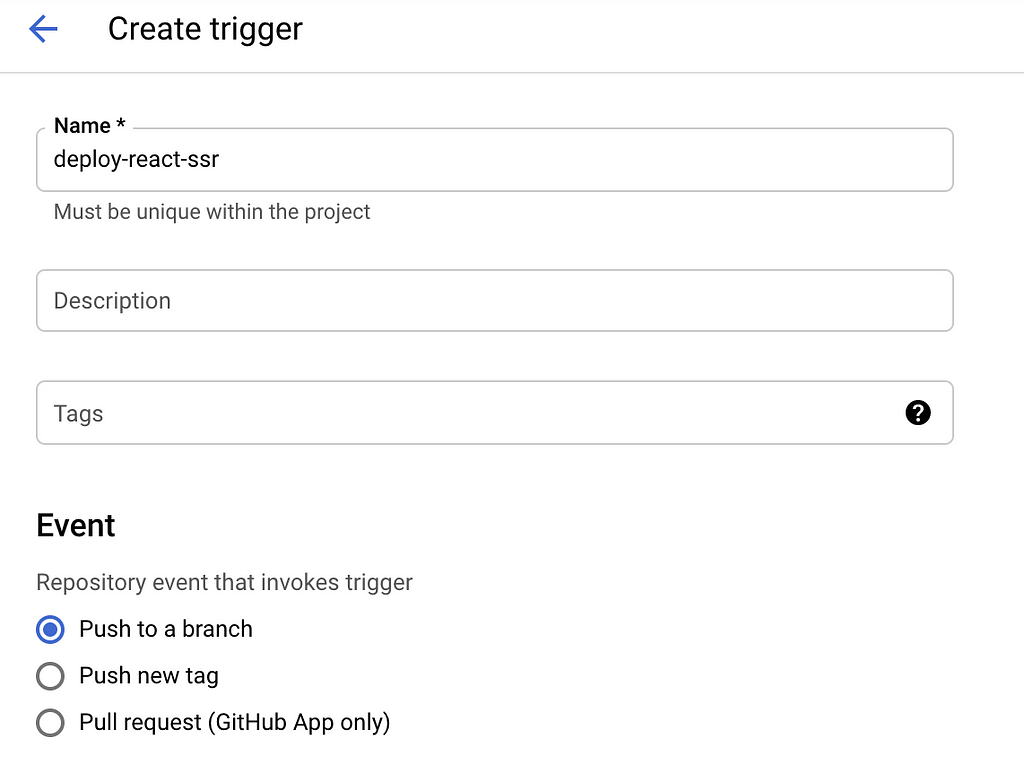
Lastly, let’s kick off automated builds every time we push a new git commit to the source repo by creating a build trigger. Go to Cloud Build > Triggers, and create a trigger. Let’s name it deploy-react-ssr, and select Push to a branch as the repo event to kick off the automated build.
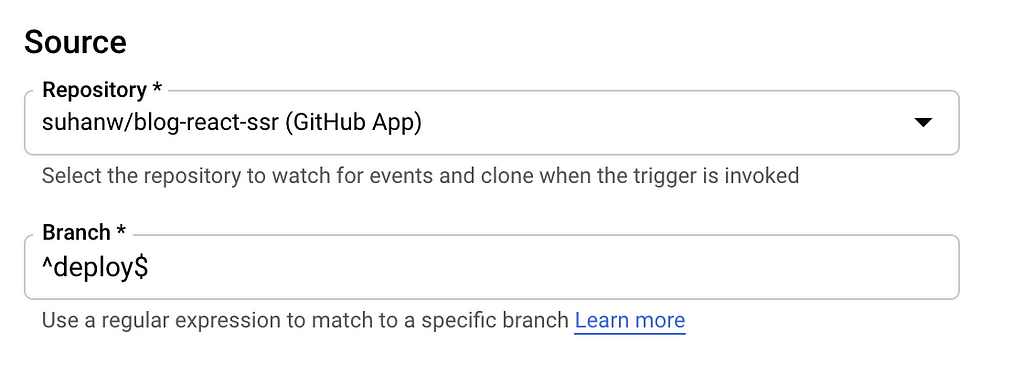
Select the source code repo which includes the build config file cloudbuild.yaml. Specify the regular expression for the branch that will start the trigger. In my example, I want to trigger the automated build every time I push commits to the deploy branch.
Once the trigger is successfully created, you should see something like this.

HTML response
Similar to Part 1 above, we need to make sure the bundled JS and CSS files are downloaded on the client-side to “hydrate” the SSR-ed markup. The annotated lines below are slightly different from those in Part 1.
Annotations of the code comments above:
[A] In production, App Engine will set the process.env.PORT environment variable to the port that receives HTTP requests over the interwebs.
[B] In production, this is the static server that serves the client-side bundles uploaded to Cloud Storage. Note: there are additional steps to actually enable the Cloud CDN service, but not super relevant to this illustration.
Putting it all together
You’re still here? Awesome!
Here’s the workflow that brings all of the above together:
-
Push a commit to the
deploybranch in the source code repo. -
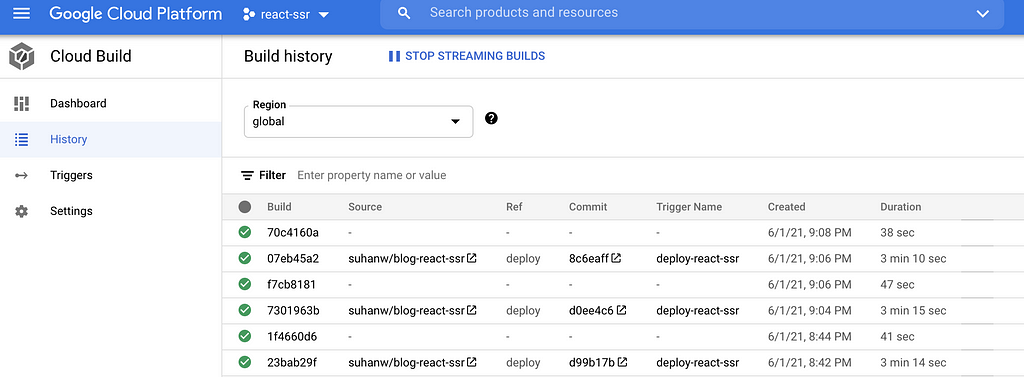
The commit triggers Cloud Build to kick off an automated build. Go to Cloud Build > History for the history of builds and the associated commits.
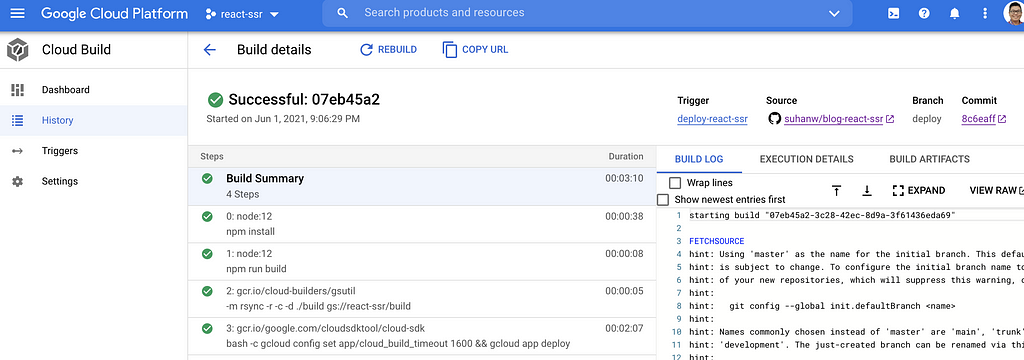
- In a given build, the steps defined in
cloudbuild.yamlare executed.
- The client-side bundles are uploaded to Cloud Storage.
- The Web Application Server is deployed to App Engine.

- The SSR app is now up and running in the cloud! 😍
Resources
- Cloud Build: Building Node.js applications
- Cloud Build: Automated static website publishing with Cloud Build
- Cloud Build: Creating GitHub App triggers
- App Engine: Building a Node.js app on App Engine
- App Engine: Using Cloud Storage
- Cloud Storage: Accessing Public Data
Read More
 Liked what you've read?
 Follow me on LinkedIn!